Deron’s Guide on How to Teach Special Needs Children to Wrap Holiday Gifts
The holiday season is a time for giving, and one of the most heartwarming ways to show love and appreciation is by giving and receiving beautifully wrapped gifts. However, for special needs children, this task can become a meaningful learning experience.
Everyone should have the opportunity to participate in holiday traditions and that includes teaching special needs children the art of gift-wrapping. In this guide, we will share our expert tips on how to teach special needs children to wrap holiday gifts with patience, creativity, and the utmost care.
Preparing for the Gift-Wrapping Adventure
Gather the Essentials
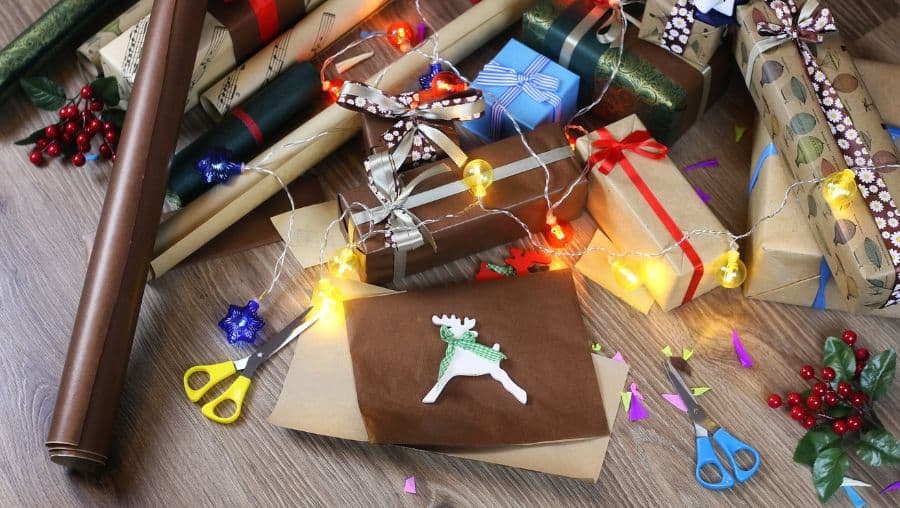
Before you dive into the gift-wrapping adventure, gather all the necessary supplies. You’ll need:
- Gift wrap
- Scissors
- Tape
- Gift boxes
- Bows and ribbons
- Stickers or labels
Create a Comfortable Workspace
Find a quiet, well-lit space where your child can work comfortably. Ensure the table or workspace is at an appropriate height and spacious so your child has plenty of room to move around. Consider using a non-slip mat to keep the wrapping paper in place.
Teaching the Steps
Step 1: Measuring and Cutting
Start by demonstrating how to measure and cut the wrapping paper to the right size for the gift. Encourage your child to participate by holding one end of the paper while you measure and cut the other. Safety is paramount, so supervise closely if scissors are involved.
Step 2: Centering the Gift
Help your child place the gift in the center of the paper. This can be an excellent opportunity to practice spatial awareness and coordination. Guide their hands to ensure the gift is placed correctly.
Step 3: Folding and Taping
Demonstrate how to fold the wrapping paper over the gift and secure it with tape. Allow your child to practice folding and taping with your guidance. These activities can enhance fine motor skills and hand-eye coordination.
Step 4: Creating Neat Corners
Teach your child to create neat corners by folding the excess paper on the sides and securing it with tape. This step may require practice, so be patient and provide support as needed.
Step 5: Decorating
Now comes the fun part—decorating the wrapped gift! Let your child’s creativity shine as they choose bows, ribbons, stickers, or labels to add a personal touch to their creation. This step encourages self-expression and artistic skills.
Encouragement and Reinforcement
Throughout the gift-wrapping process, offer continuous encouragement and praise. Positive reinforcement can boost your child’s self-esteem and motivation to complete the task. Remember that the aim is not perfection but the joy of learning and participating in a cherished holiday tradition.
Celebrating Achievements
Once your child has successfully wrapped a gift, celebrate their achievement and praise their efforts. Display their creations with pride, as this not only instills a sense of accomplishment but also enhances their self-confidence.
3 Additional Tips to Be Mindful Of
Sensory Considerations
Pay attention to your child’s sensory preferences and sensitivities. If they are sensitive to certain textures, consider using different paper types or providing sensory-friendly tools.
Adapt and Modify
Every child is unique, so adapt and modify the process to suit your child’s specific needs and abilities. The goal is to make the experience enjoyable and inclusive.
Safety First
Keep safety a top priority by closely supervising any steps involving scissors or tape. Make sure all materials used are safe and non-toxic.
Choose The Deron School
By following our guide on teaching special needs children to wrap holiday gifts, you can help them experience the joy of gift-giving and make cherished memories during the holiday season. At The Deron School, we believe in empowering every child to reach their full potential and participate in life’s meaningful traditions. Contact us today with any admissions inquiries! We wish you and your family a warm and joyful holiday season of love and togetherness.
